Home » Construction

Construction

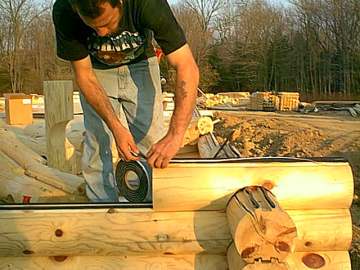
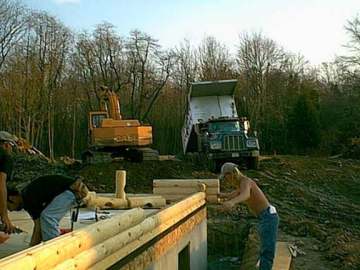
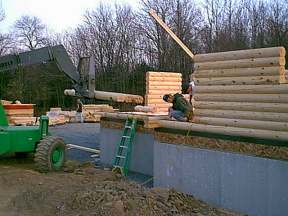
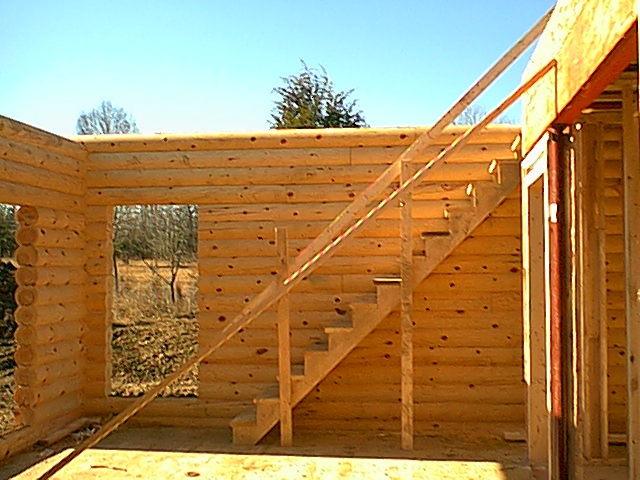
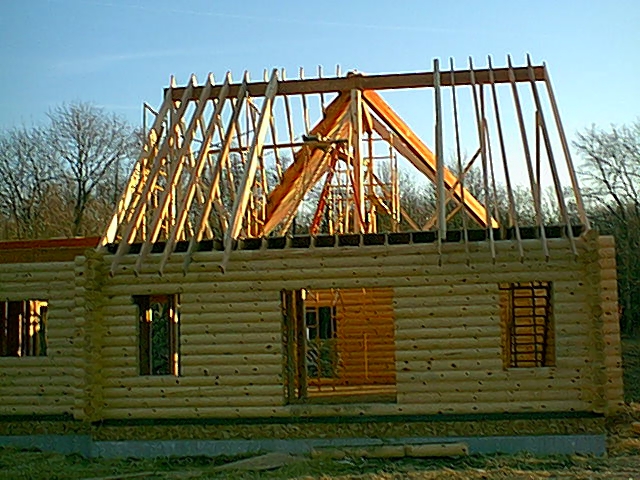
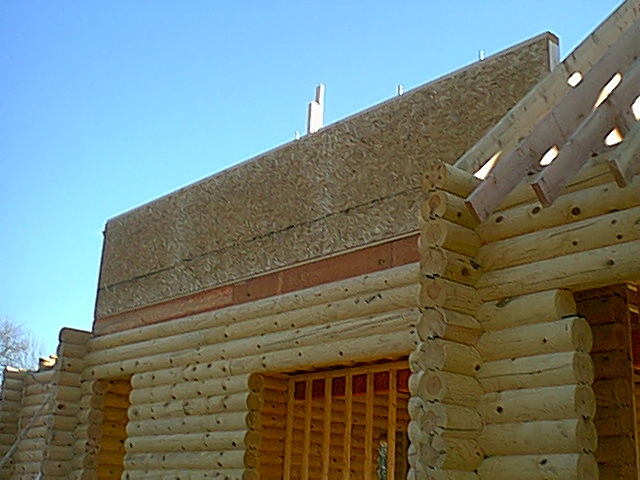
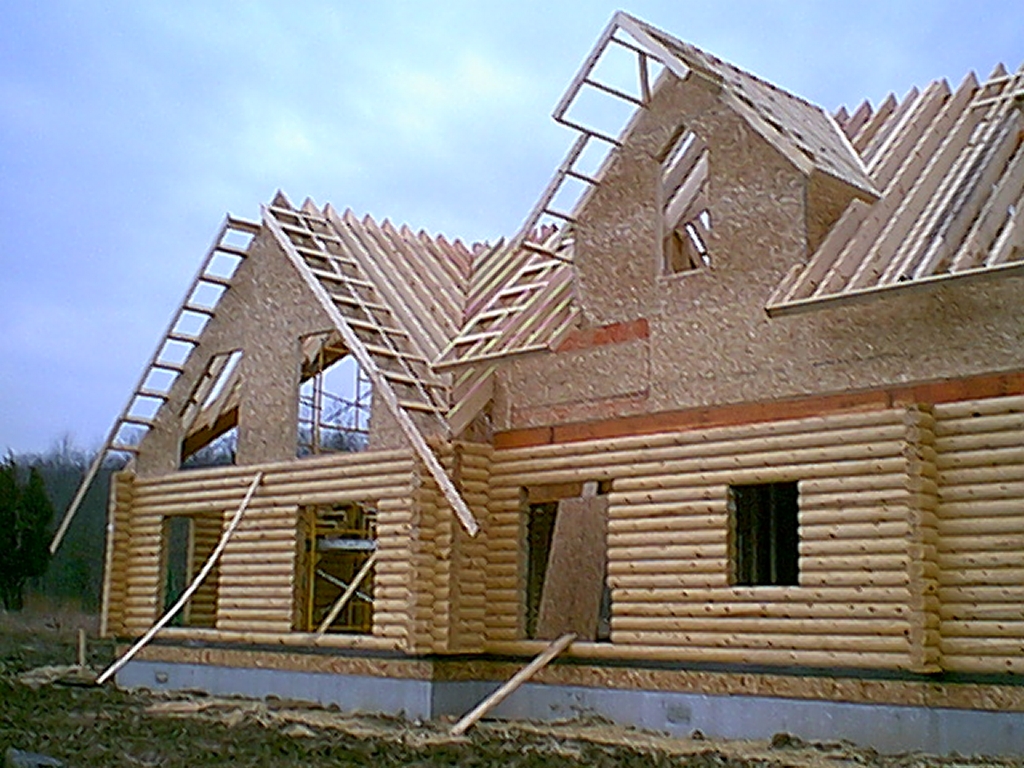
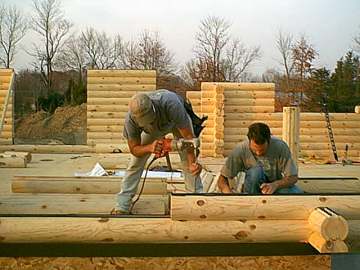
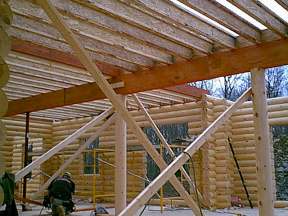
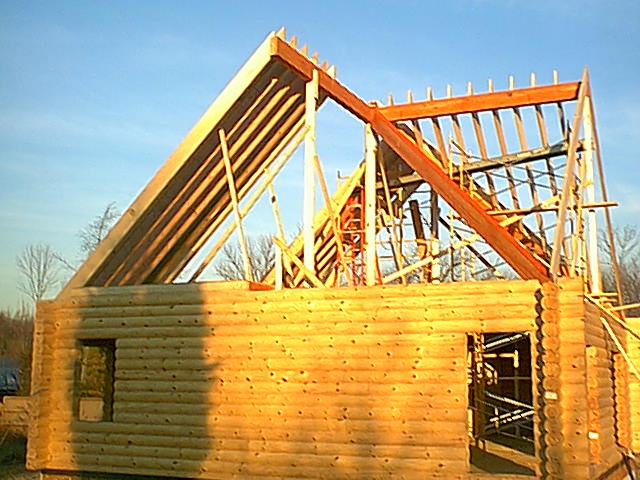
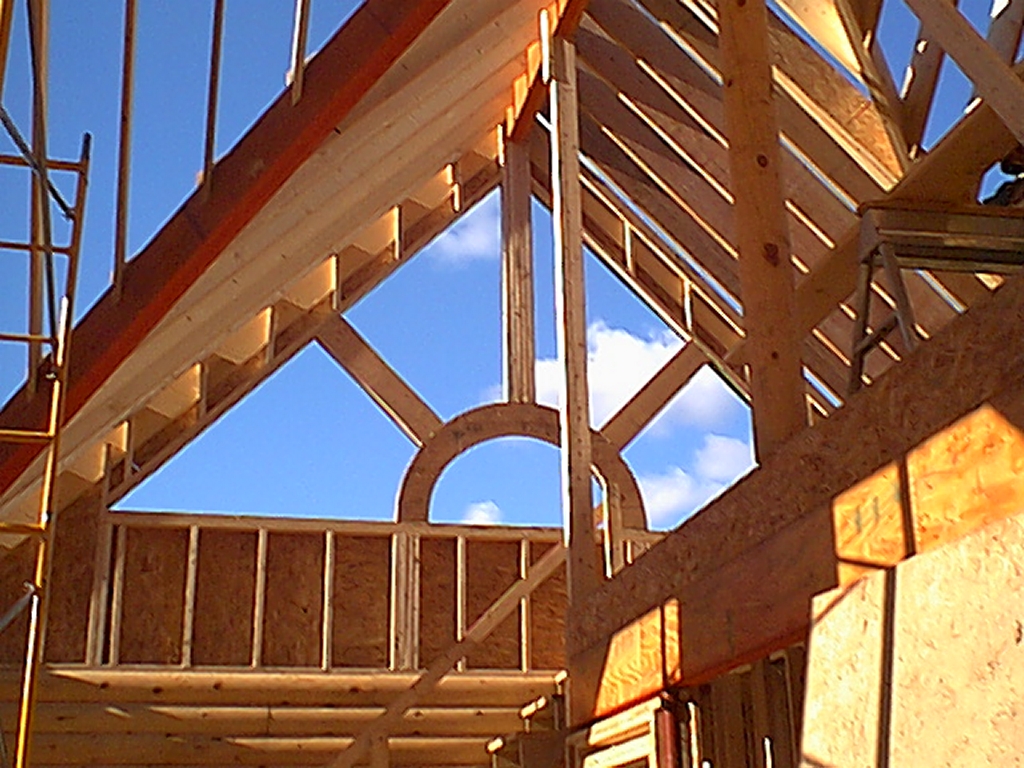
Here are the photos I took during our construction phase.

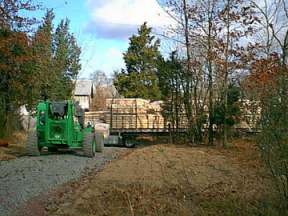
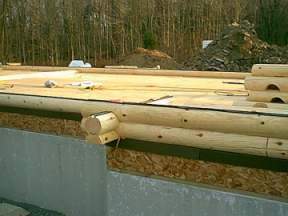
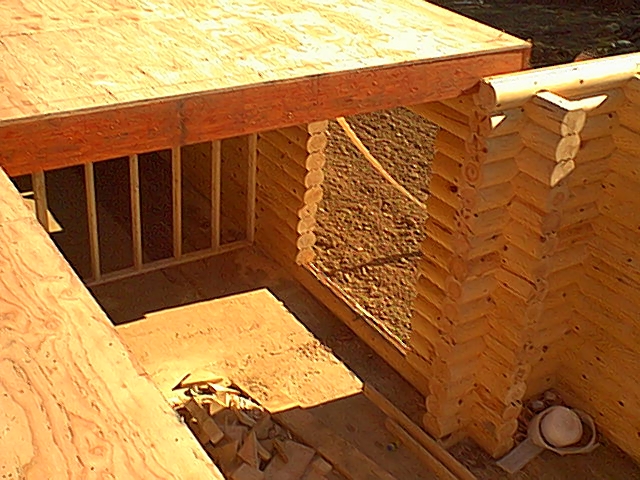
Our logs were delivered on a crisp November morning in 2001.  Before they were scheduled to be delivered, Hiawatha made sure that our foundation was ready and the deck was  on.  We used precast Superior Walls foundation for our crawl space.

There’s our house on a flatbed truck!
Two-sided foam tape is applied to the top of each log.
Expect a mess; that’s our septic being dug in the background.
See how the logs are spread in the background; allow for extra gravel to be laid on delivery so the logs don’t get muddy.

Load-bearing interior log wall  (optional)
You’ll get temporary stairs to the second floor.
The big gap in the center is where the dormer will go.
Second floor framing; log siding will be nailed to the 2x6s supporting the particle board. 
Rear view
The first and second log course
The logs are fastened together with “Oly-Bolts” approx. every 18″
Starting to see definition where the windows and doors will go.
It was at this point that I started worrying whether I had left enough space for my door to open; see the interior log ends behind the ladder—I forgot about them!
The day we got our second floor.
View from the second floor deck.
The beginning of our vaulted ceiling
It’s starting to look like a house
Opening for the west-facing window set

Next Page: 2 and 3