Every Log Home magazine has a section dedicated to floor plans, where the aspiring owners start their search for the perfect dream home. I did it too, and dutifully ordered piles of plan books, while starting my comparison shopping based on the beauty of the photos. Little did I realize – until later – that what was really drawing my attention was the third dimension: the roof lines, the porches, and the soaring great rooms.
At the beginning, we think we need to choose a manufacturer based on their floor plans, but once we realize that we can design our own custom home with any company, things start getting interesting. After all, interior wall partitions can be moved at will, and the log home company really doesn’t care where you put the bathroom. How many different ways can you configure an open floor plan?
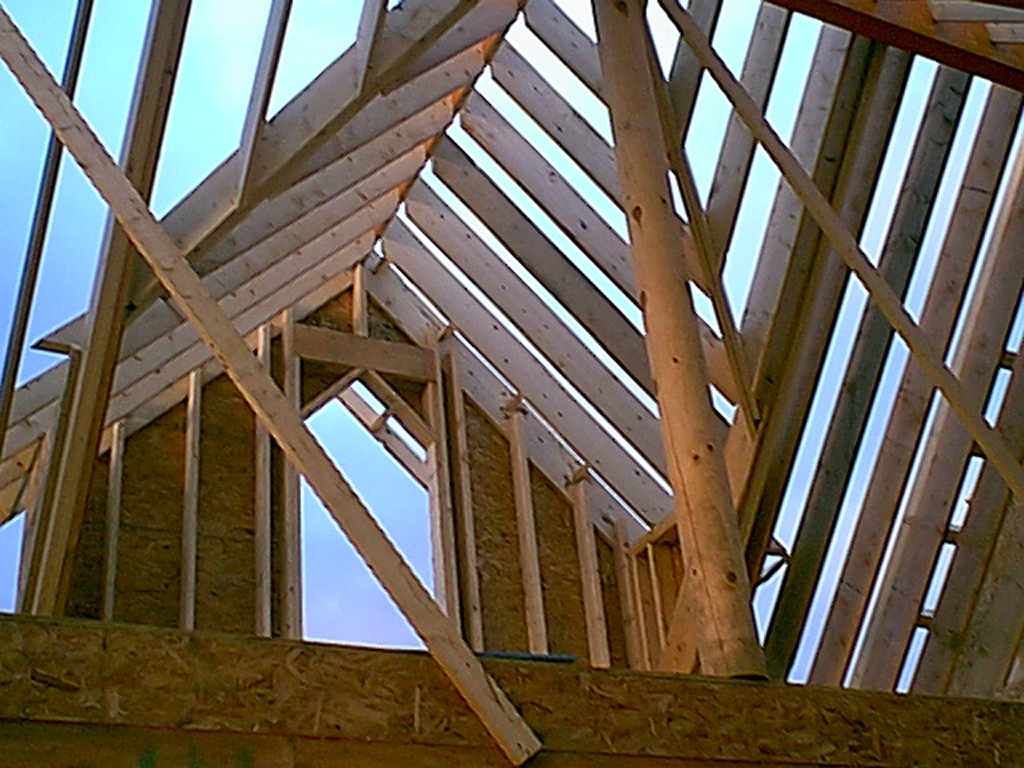
What really requires thought is the interaction between the second floor and the roof lines. The first floor is comparatively simple; you’ve either got a cathedral ceiling, or a regular ceiling. However, once you go upstairs, there’s a whole new set of considerations. First of all, what kind of roof do you envision? The simplest (and most economical) roof line is one long ridge from one side to the other. The angle and height of the roof slope determines how much floor space you are going to lose because of the pitch. There’s a good chance you don’t have as much useful space as the second floor plan indicates, unless you’re two feet tall. Once the log home architect turns your plans into real drawings, he will “gray out” the dead space, but it’ll save costly revisions to be able to conceptualize the third dimension ahead of time.
For instance, I wanted a 45-degree angle in my roof; this is a 12/12 pitch (in other words, the roof rises 12 inches for every 12 inch horizontal run). I have a 28 foot-wide house and I wanted the slope to go all the way to from peak to floor in my loft. The peak measures about 14 feet from the second floor deck, and I lose 6 feet of floor space to stand upright, if I were 6 feet tall. (I’m speaking in broad generalizations here – not precise measurements.) My loft extends halfway into the great room, so this leaves me about 8 good feet of width in the loft – not the 14 feet my homemade floor plan shows.
How do I increase my living space? By adding a dormer. The wider the dormer, the more space you regain. This adds cost to the whole project, but it’s well worth it. Some narrow dormers do little more than add light, while a shed dormer widens the whole room. Your choice of dormer will be determined by the look you want on the outside. Or, you can add a gable and create an Alpine-look, which will give you a big triangular-shaped wall instead of a slope. A third option would be to add “knee walls”, thus raising up the whole roof. However, if you want the same pitch, this means the peak will be correspondingly higher from the ground.
The roof pitch was a huge factor in the placement of my staircase. The stairs run along the wall. I wanted extra square footage at the base of the steps, but to do so meant that the top of the stairs would emerge dangerously close to the ceiling slope. I would bang my head every time I went upstairs! So the stairs had to be situated so that they reached the loft in – or near – the middle of the house. Or, I could have added a landing and angled the stairs to keep them in the center. I opted to take a notch out of the loft and shift the stairs a few feet forward, calculating how much head room was left over. Still, I wasn’t sure how far the staircase would extend… that third dimension again! In the end, I had to sacrifice the potted plant I intended to put in the corner at the base of the stairs. There just wasn’t enough room to do it all.
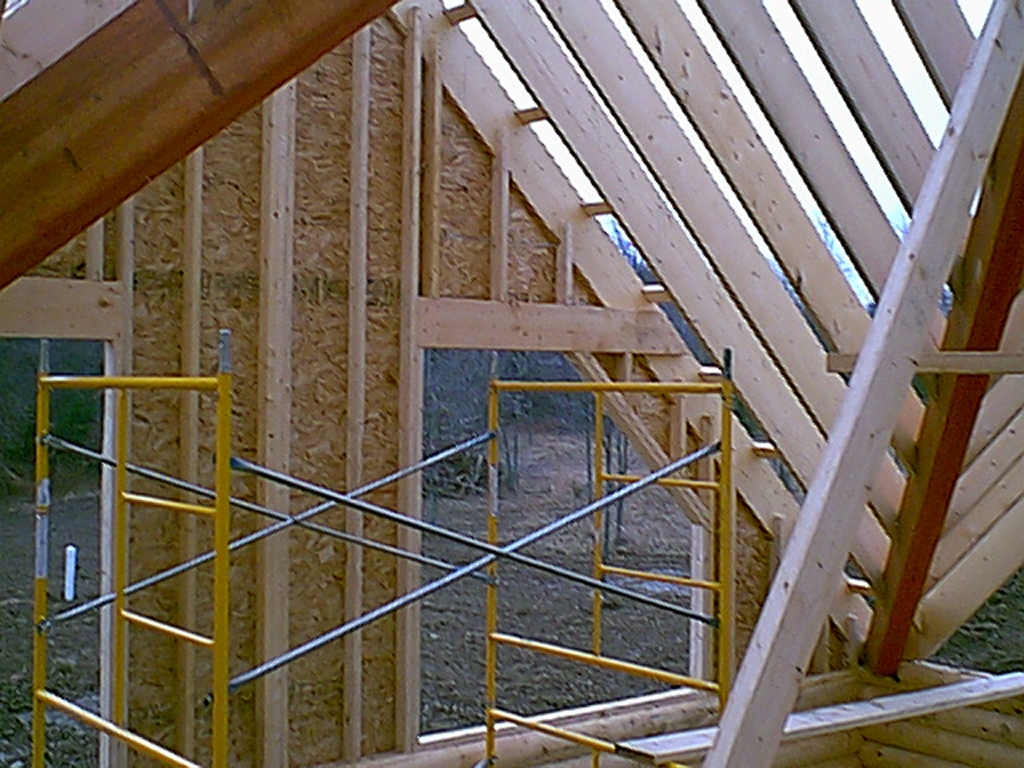
Another difficult visualization is trying to see just how big those plate-glass windows really are. If you want a ranch with big great room windows, you may have to shorten the panes of glass to fit into a peak that only rises 14′ from the deck. It’s hard to fit a large window set in a small wall. Most of the beautiful windows in magazines take up well more than two stories – more like 24′. Perhaps a ranch with a loft is the best of both worlds.
I made the mistake of ordering windows so large that I cannot reach the center of the glass to clean it by hand. I certainly don’t want to rest my ladder in the middle of the window! What I didn’t learn until later is that if you order a window that’s too large (say, 6’x6′), the glass will bow ever so slightly under its own weight. This may cause the thermal seal to break, like it did after one year in my house. You’re better off using smaller, divided windows to create the same wall of glass.
The last thing I want to mention is to try and look at your roof from a bird’s eye view. How do your ridges line up? Do you have disconnected angles pointing in every direction? That will greatly increase the cost of construction. If you have a gable in the front and a gable in the rear, do they line up? Or could you line up a gable in the rear with a porch in the front? The more complicated the lines, the more costly the building. The most amazing thing about building your log home is having to wait until it is nearly erected before you actually know what it’s going to look like. On a regular house the frame goes up first and the shape is defined. But with a log home, it can be a long wait before you get the whole effect. And once the roof is on, the effect can be almost magical.